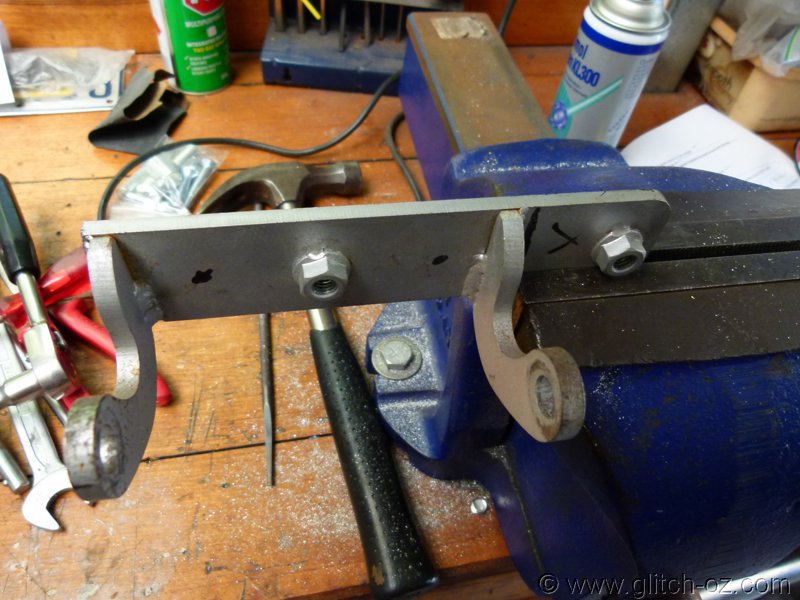

Filler Cap Mod_1
Issue:
Multiple reports have shown the tank filler cap to be vented to prevent pressure building up in the tank when hot.
The cap has a tiny valve mechanism to prevent fuel running out in case of a topple over/ bike is on its side.
The mechanism consists of a tiny plate/spring/ball which can get jammed in rougher terrain/ dust etc and locks the tank, spraying the user with fuel at the next fill-up when pressure is released suddenly by removing the filler cap.
HighFive over at ADV has done a write up with pics which I have used to do the mod on my bike.
No need to re-write his brilliant piece....just a straight copy+paste to add to the rest of the posts.
I contacted him for an ok ....original thread here:
http://www.advrider.com/forums/showpost.php?p=22407576&postcount=1695
While my Terra performed very well during this long trip, I did experience a serious problem early on that had to be resolved.
The first day on the road was a scorcher over 100 degrees F. Excessive pressure was building up in my fuel tank, terribly so. :huh Refueling became a worrisome event, as I couldn't believe the pressure inside my fuel tank. It was enough to turn my fuel cap into an RPG from a rocket launcher. :eek1 I would have to slowly bleed off the pressure, before I could safely remove the cap.
Clearly, the fuel tank was not able to properly vent to atmosphere. The magnitude of pressure buildup had me very concerned that a tank seam would burst. The problem had to be identified and resolved. So, I went to work on it in the motel parking lot during the very first evening on the road.
Took awhile, but I found the culprit. The whizmo gizmo hiding under the fuel cap was simply not venting properly. It took some brain surgery to locate the pesky culprits and extract them. But I solved this problem permanently. :deal
Now, you get the benefit of seeing how its done. I kept the parts in a zip-loc bag, and reconstructed the process step by step to share here, because this was such an important discovery. It could have been a real deal killer, had I pressed onward, ignoring the situation. Don't fall victim to the same issue.
Warning……lots of photos to follow, so that you don't lose your way. I got to do the whole thing twice, to be able to share so that you only have to do it once. There are several components with unique fitting parts. I lost my way at least twice…..ok maybe more. But nobody has a photo of HF lost!
Here we go:
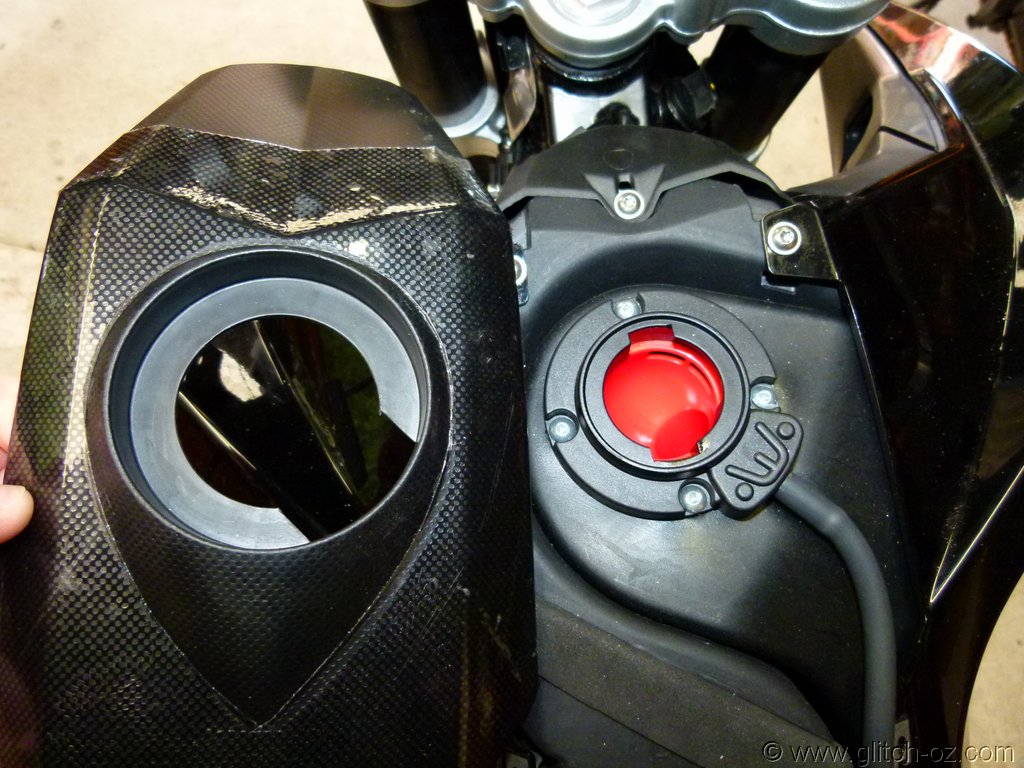
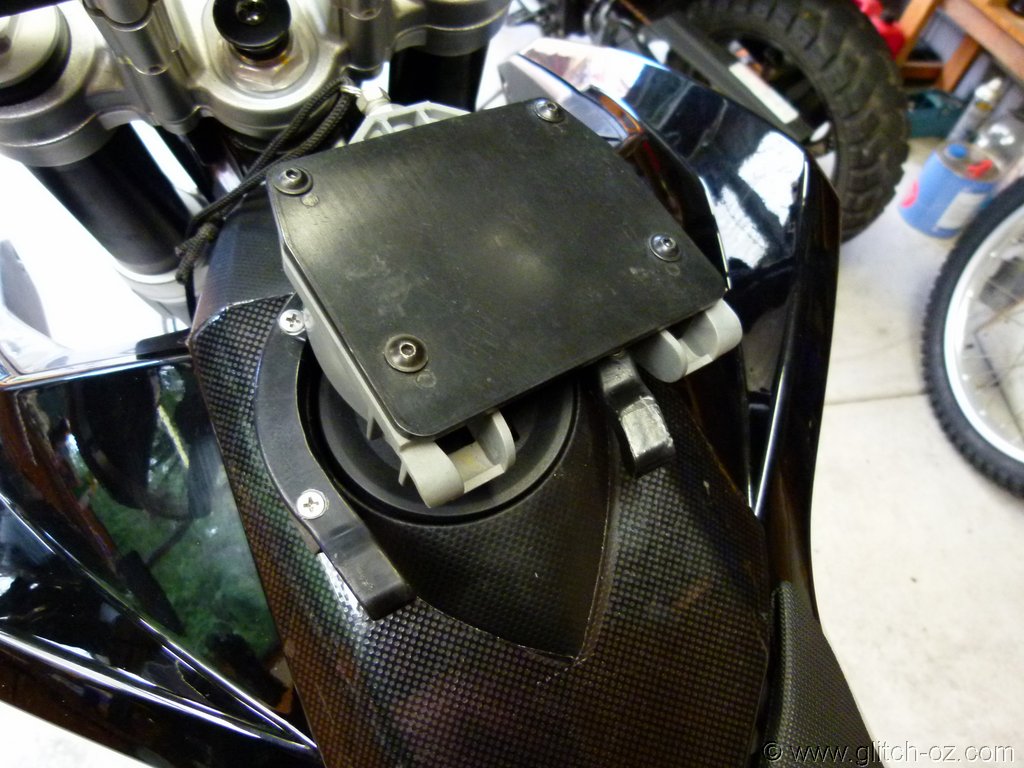
Remove the fuel cap

Stuff a clean rag in there so you don't drop something inside the fuel tank

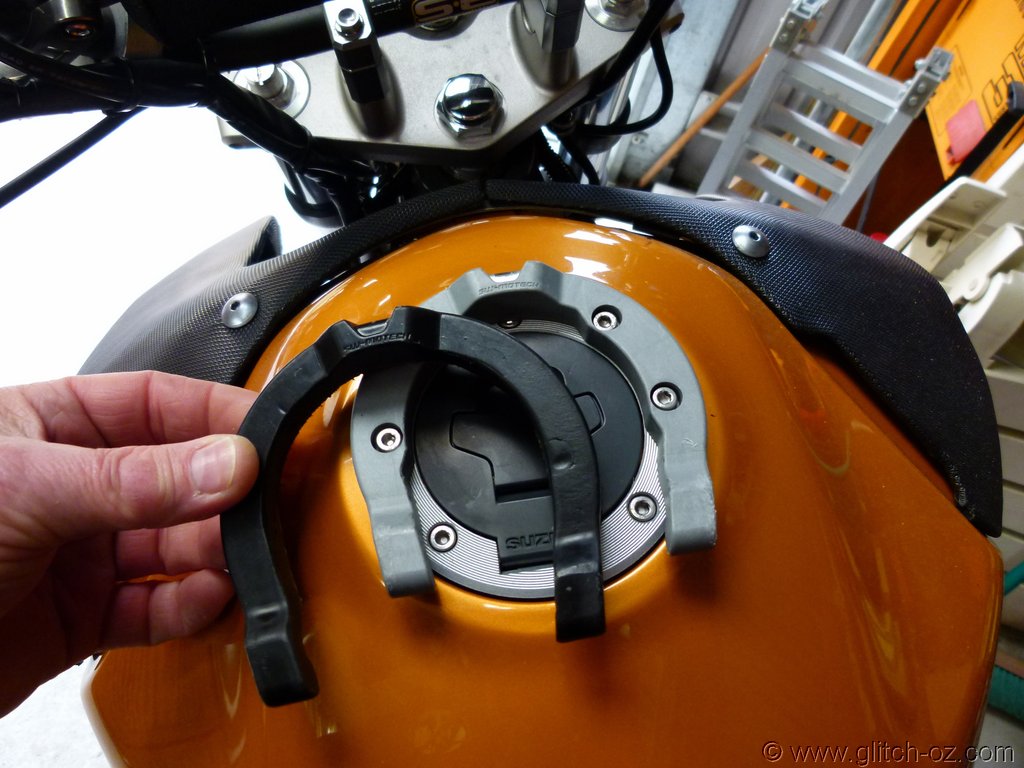
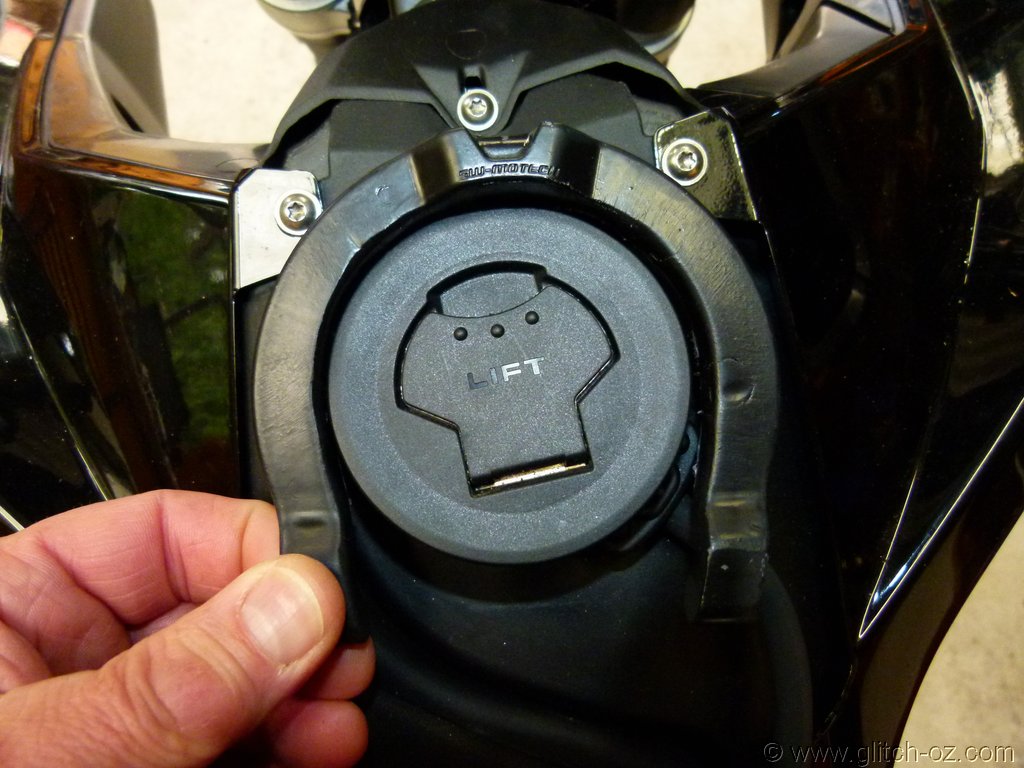
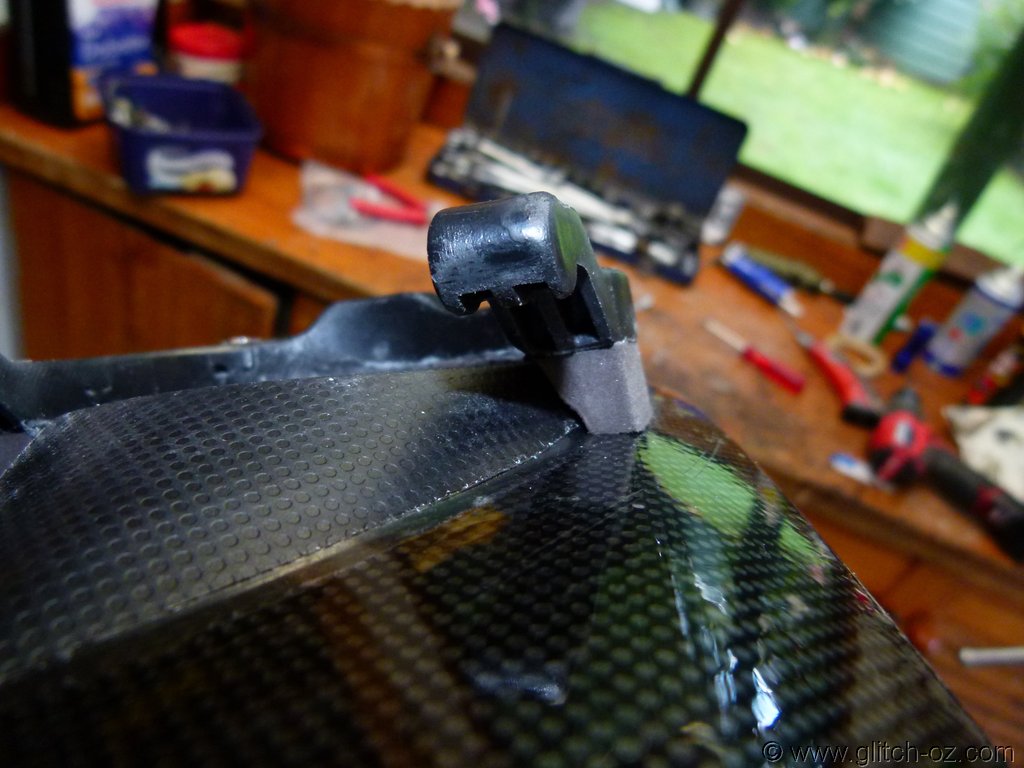
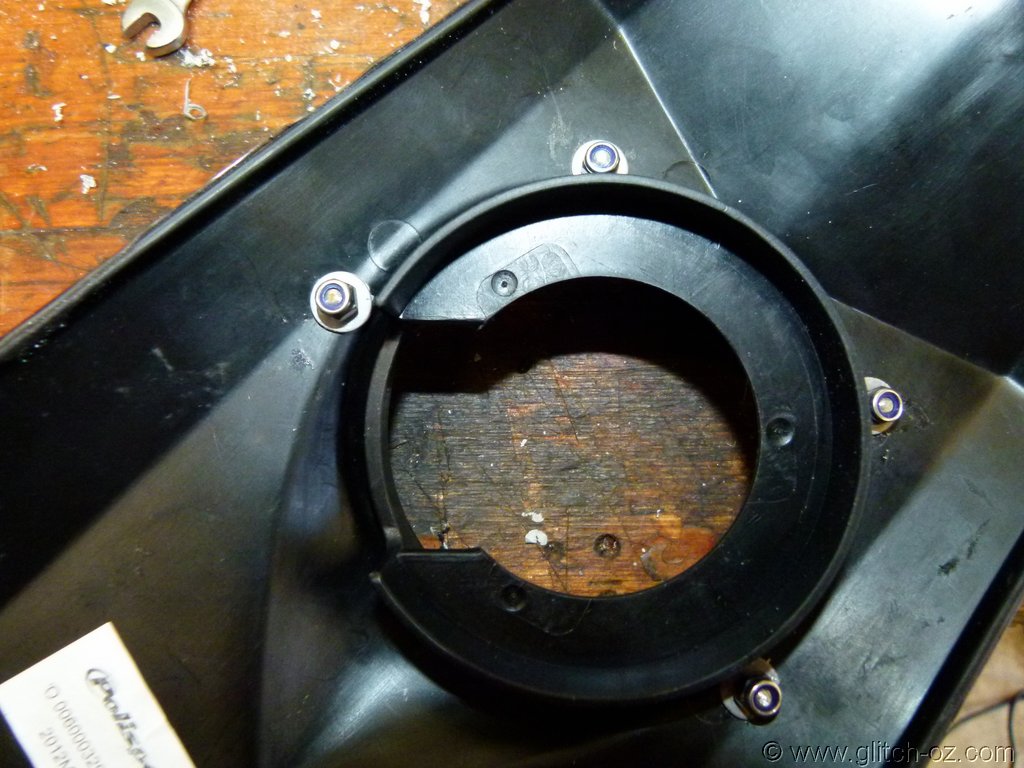
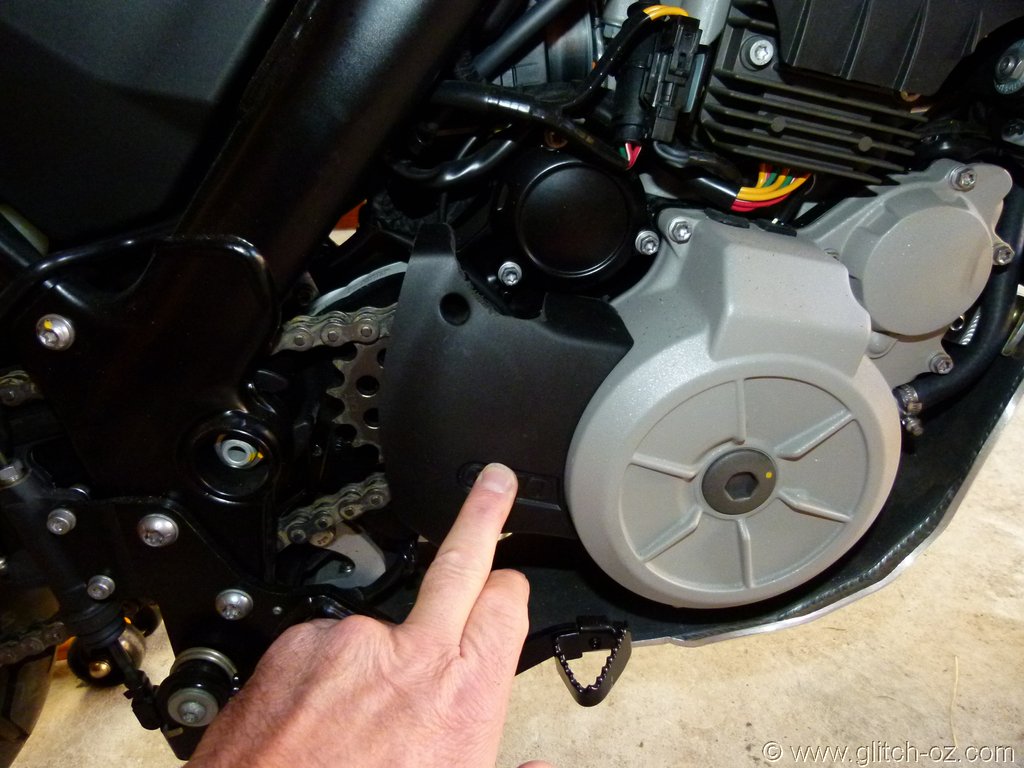
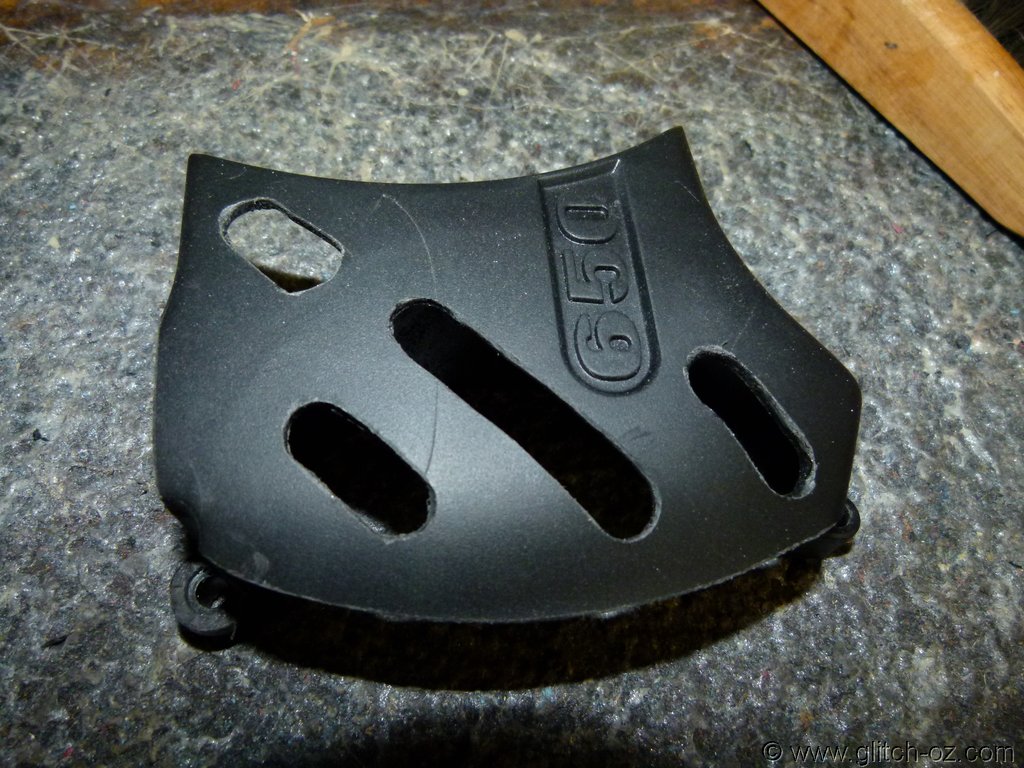
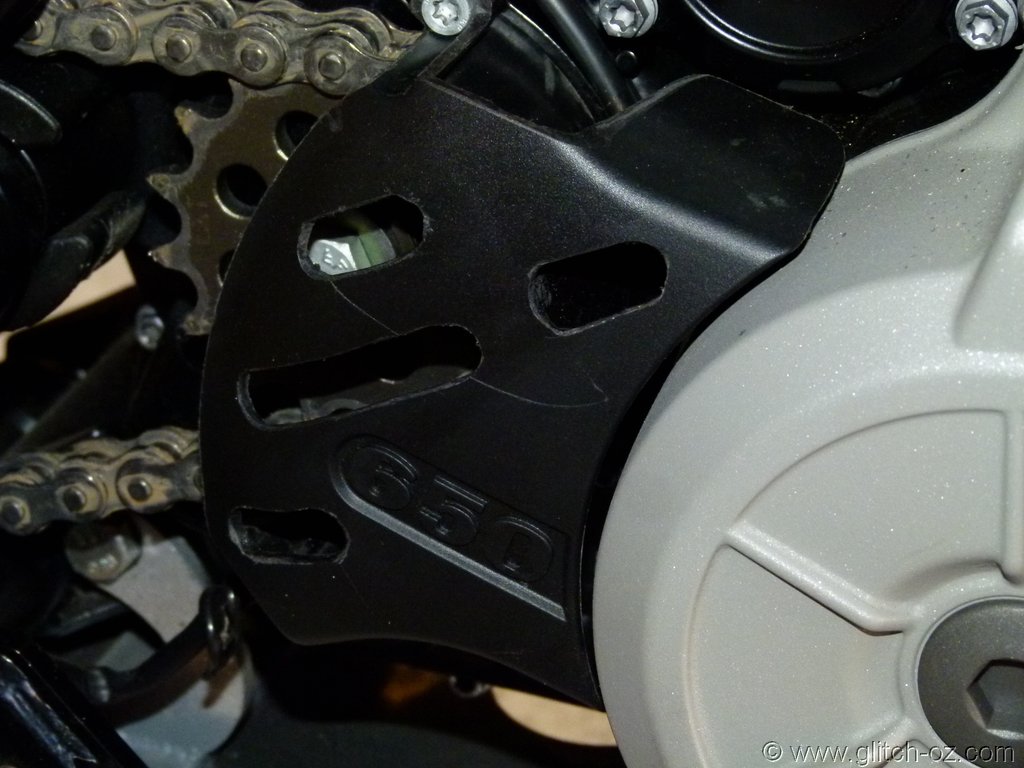
Remove the plastic cover (T25 - 4 bolts)

Remove this fuel cap base ring….latch catch (Hex 3mm - 4 bolts; the only hex I've seen on the bike, I think).

Now pay very close attention to details from this point forward as you work. Order of parts, direction they are facing, etc. But you'll have these photos to refer back to, if you get confused. You MUST reinstall every piece in the correct order and position.
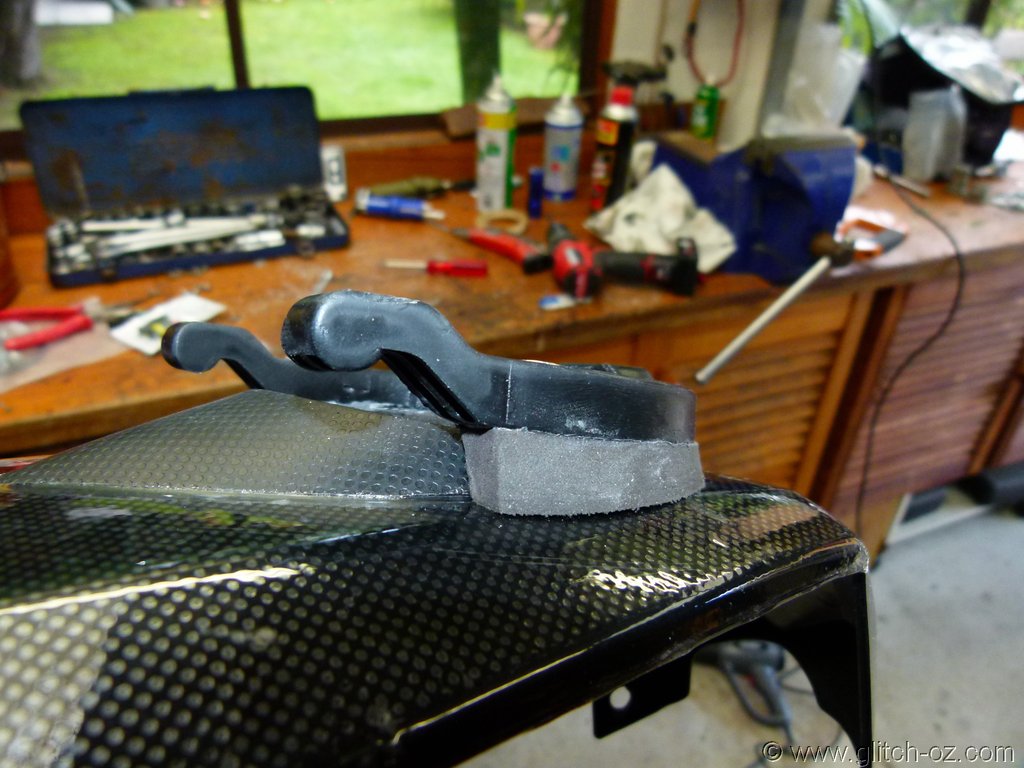
Gently pull this ring and filler neck out of the tank. Probably a good idea to remove the vent hose from the red nipple even before you remove this assembly. I took it off later, because I didn't think of it sooner. It made reinstall much easier without wrestling the vent hose.

Here's a looksee inside the tank, just because.

Notice this hole…..it is your vent hole in the fuel tank. When you reinstall everything, remember "the holes must line up".

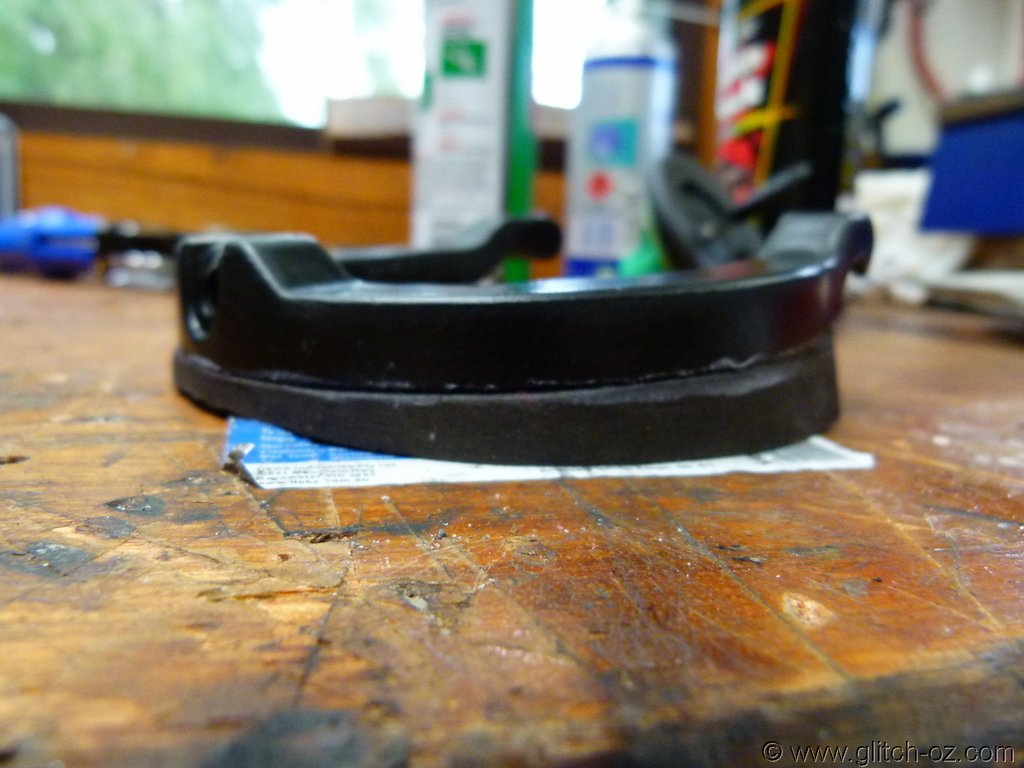
Here, I've turned the assembly over so you can see the bottom side of the mating surface where the holes must align.

The farthest hole from my finger will be the one that matches the vent hole in the tank. It will make sense when you are holding in your hand and looking at the placement. If you put everything back in order properly, it will line up correctly with no problems.
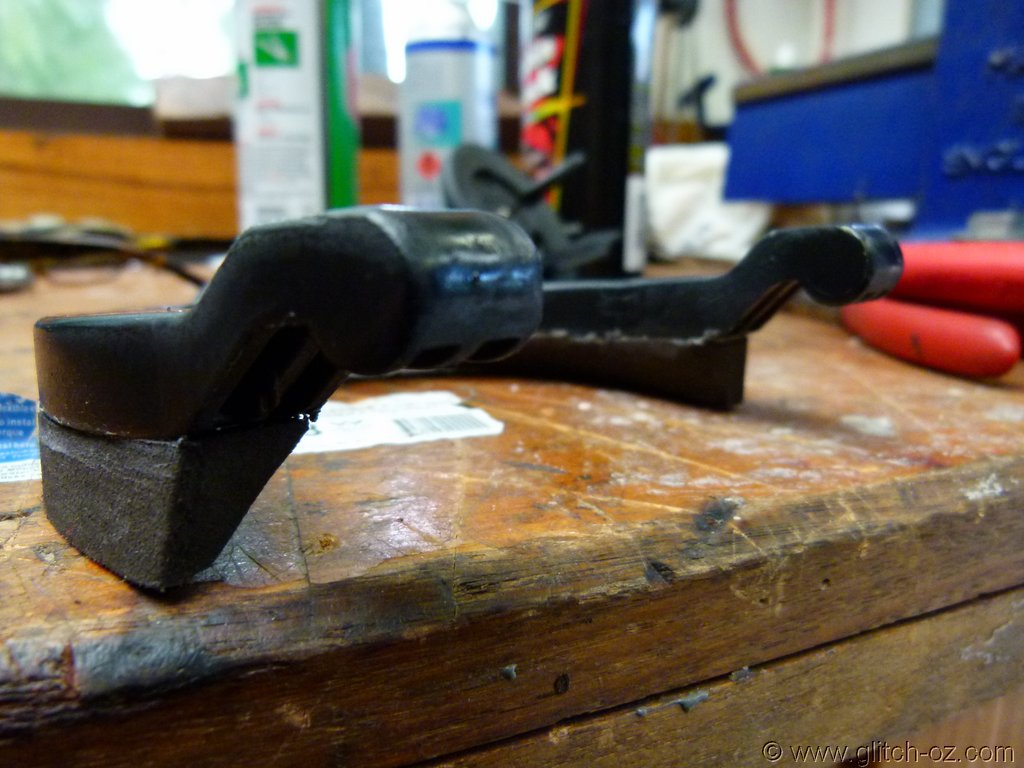
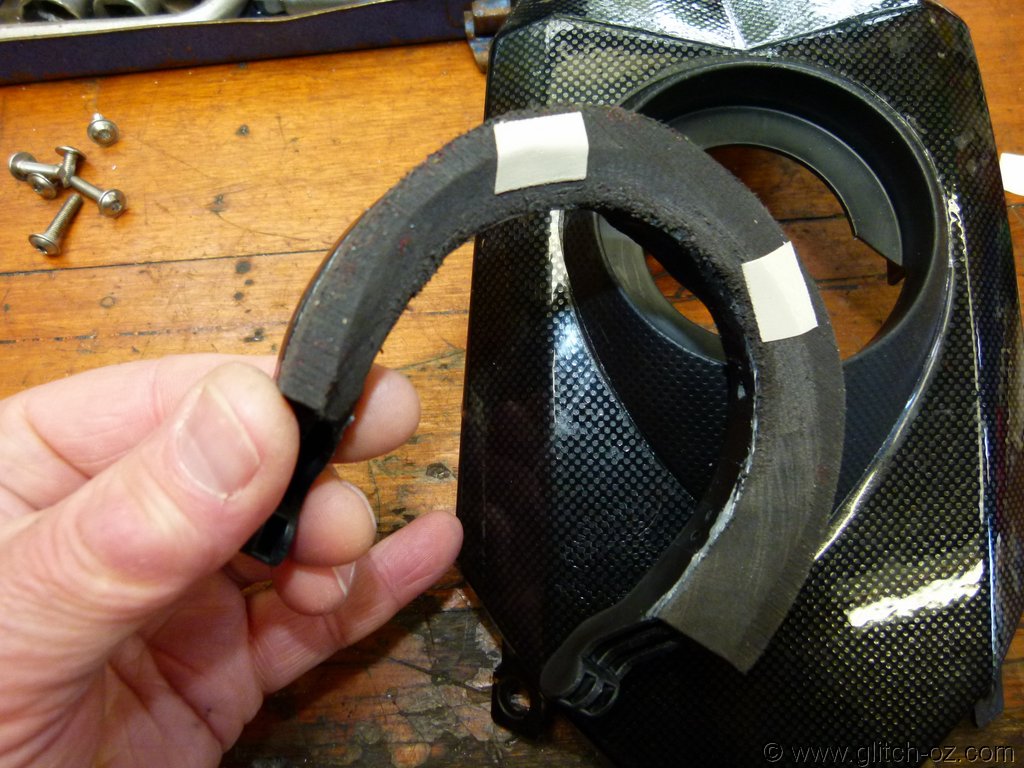
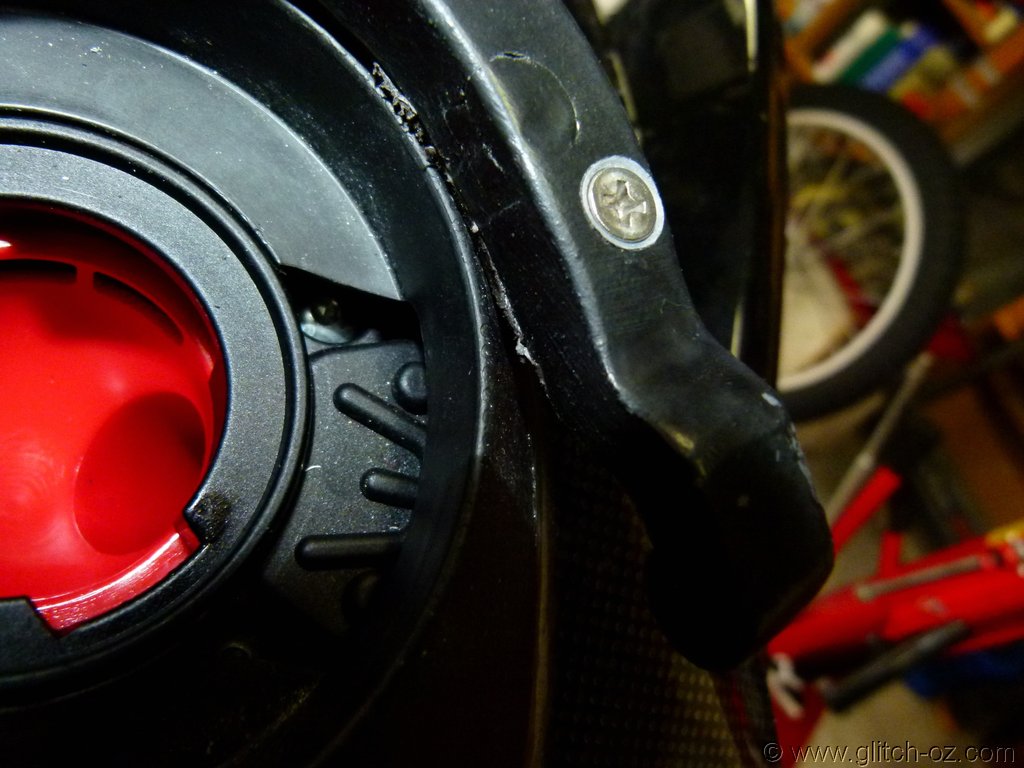
The filler neck snaps out with a gentle tug, and the gasket comes with it.

Turning over this latch assembly you can see two more tiny bolts on the bottom of the tank vent connection. Note: its black on top and red on bottom. Remember that.

Smallest Torx wrench I've used yet. Either a T10 or T15, I forget exactly.
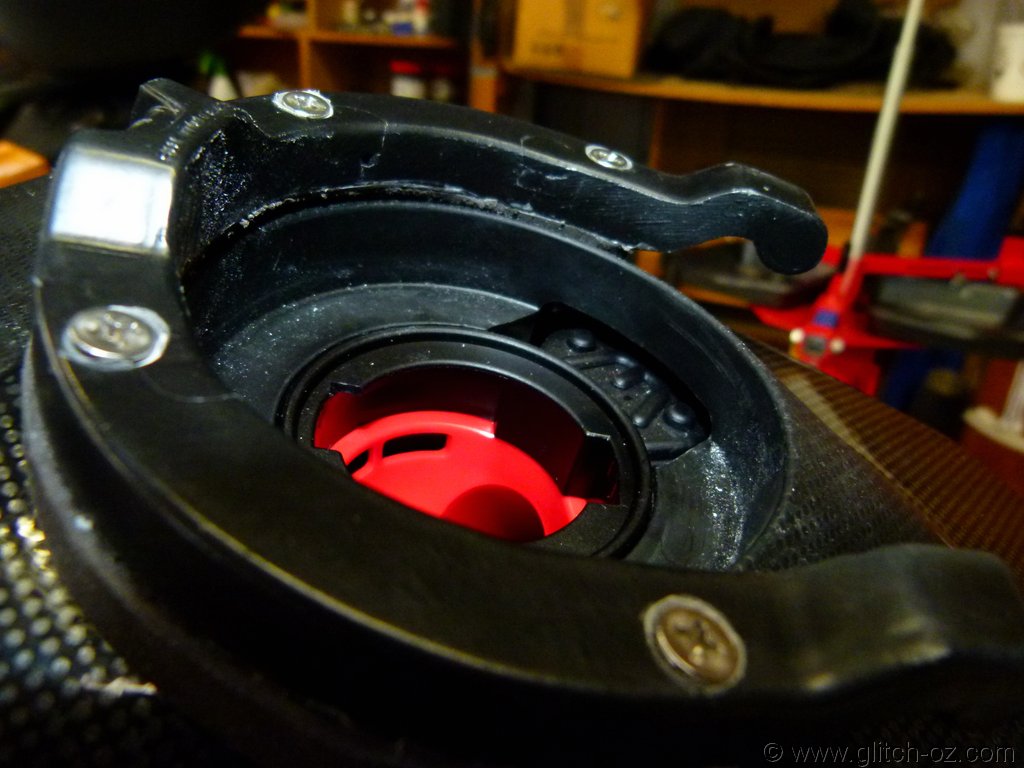
Here was the "problem" hiding under this plastic red cover.

A tiny check ball, spring, and orifice plate. They were laying loose like this when I opened up the cover, so I'm not exactly sure how they were originally set. It appears to be a spring loaded check-ball, to prevent fuel from spilling on the ground (out the vent hose) if you have a tip-over.
Not sure if the orifice got clogged, or the dumb thing just came out of joint. But some combination of these three tiny fellows was blocking my tank vent completely. I hate to think what it would be like, if the pressure had built to the point of a bursting explosion while I was riding at speed down the highway. My how the mind races…..
I'm not telling you what to do. Not recommending anything in particular. Just showing you what I did myself. And it went like this (with pleasure):


Next up……the reassembly.
Taking things apart is always easier than putting them back together!
HF


")